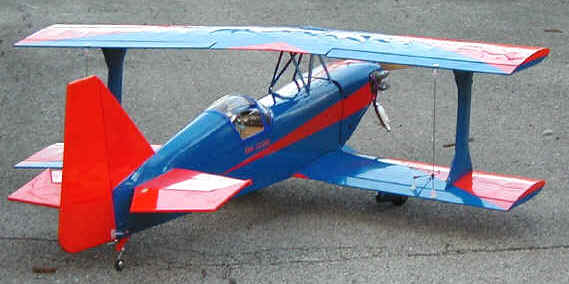
This is the second one of these I've built - the first one was a fantastic flyer, until the day it flew away. It was headed north, straight and level, and I couldn't get it to turn. By the time I figured out that the Aileron hookup had failed, it was too late. Never found it. There are reports that it was found in the graveyard to the North, but that the shed where they put it later burned.
Dave Patrick, its designer, gave me a replacement kit, and I've taken 5 years to build it, twenty minutes at a time. Here are the changes I've made.
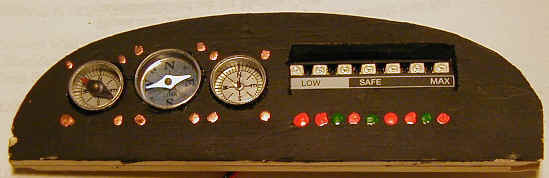
Panel of balsa, toystore compasses, and a Hobbico Voltwatch battery monitor.
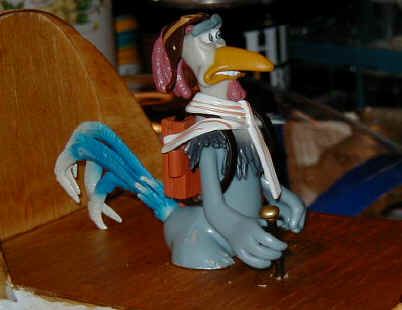
I get my pilots at Toys R Us
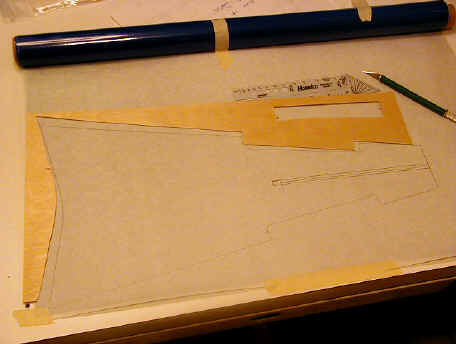
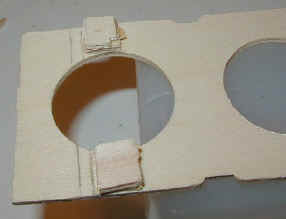
That turtle deck is not easy to cover. But it's easier with a template - and there's one in the kit. Use the leftover wood (it's in your trash can) from the playwood sheet that includes the turtle deck. It'll give you a perfect piece to cover the deck.
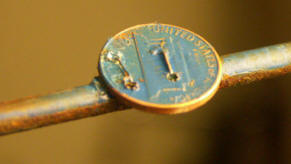
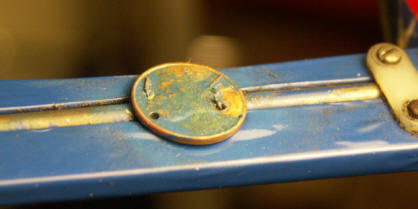
I always had a problem with the wooden gear leg fairings rotating in the wind. Eventually, I used a propane torch to silver-solder a couple of pennies to the underside. No more problems!
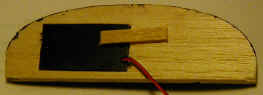
I put tabs on the back of the fuel tank tray - this lets me mount it with a rear plate that holds it in place, easy installation and removal.
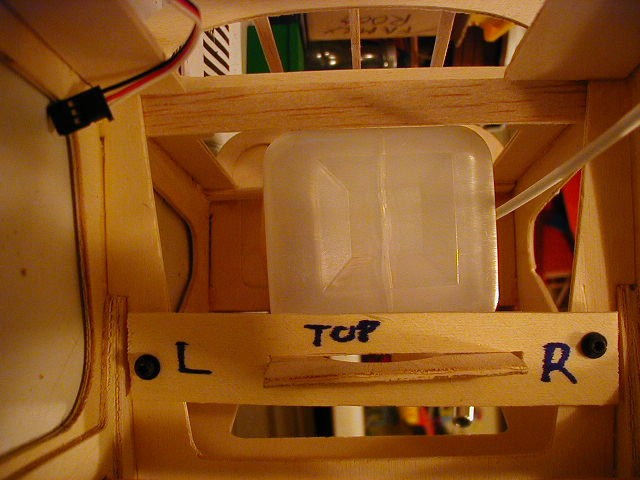
It always bugs me that the throttle servo cable is so hard to mount. Multiple layers of lite-ply give you the strength you need. (Note soda straws for antenna routing)
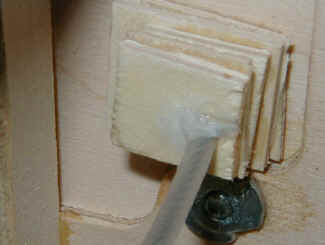
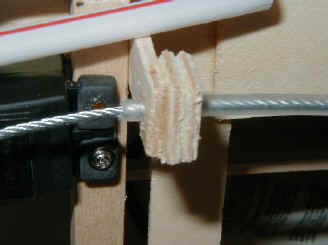
Route the antenna with soda straws - weighs almost nothing, very slippery

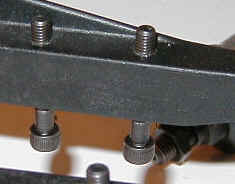
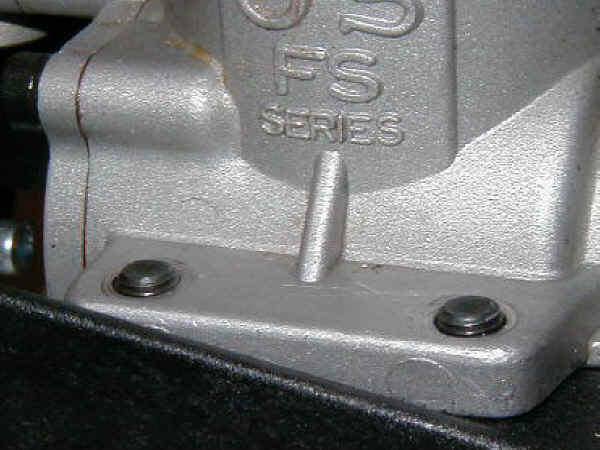
It always drove me nuts, taking the engine in and out to mount cowls, throttles, etc. Then it hit me - if you put the bolts in from the bottom, and leave them, you can drop the engine on them in seconds!
Go Here